UI Hello World
Let's start with the simplest Hello World example to understand the basic concepts of dxUi.
Complete Code
import dxui from "../dxmodules/dxUi.js";
import std from "../dxmodules/dxStd.js";
import logger from "../dxmodules/dxLogger.js";

dxui.init({ orientation: 1 });

const screenMain = dxui.View.build("mainid", dxui.Utils.LAYER.MAIN);
const button = dxui.Button.build("buttonid", screenMain);
button.setPos(100, 400);
button.setSize(400, 400);

const buttonLabel = dxui.Label.build("buttonLabelid", button);
buttonLabel.text("Click me");
buttonLabel.setPos(150, 200);

button.on(dxui.Utils.EVENT.CLICK, () => {
  logger.info("Button clicked");
});

dxui.loadMain(screenMain);

std.setInterval(() => {
  dxui.handler();
}, 10);
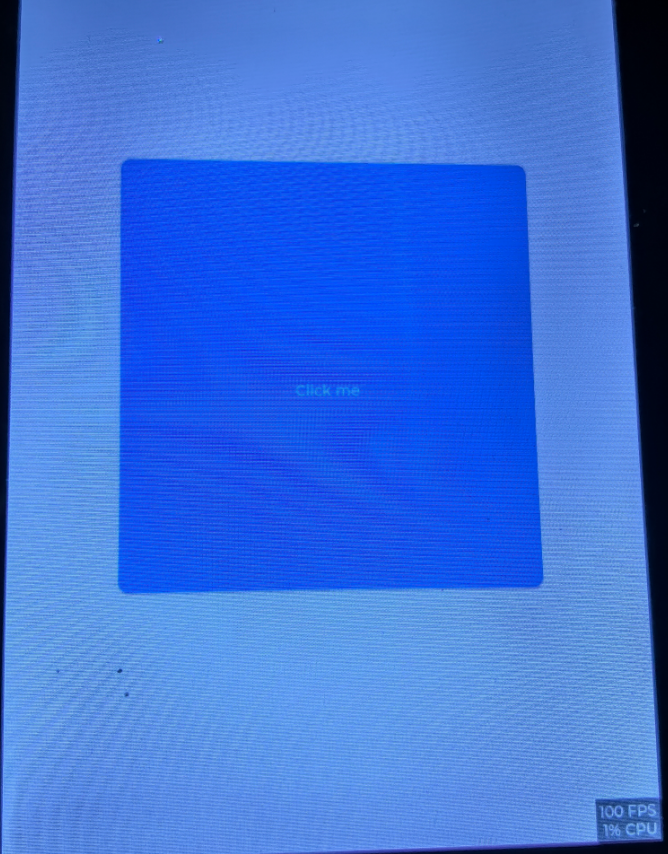
Running Result
UI Structure Analysis
Although this is a very simple example, it demonstrates LVGL's tree-structured UI hierarchy:
screenMain (View)
  └── button (Button)
        └── buttonLabel (Label)
Simply put, we created a button on the screen and added a text label inside the button.
Code Explanation
Let's analyze the code line by line.
1. Import Modules
import dxui from "../dxmodules/dxUi.js";
Import the dxUi module. dxUi consists of multiple JavaScript files, which can be found in the dxmodules directory:
dxUi.js- Main entry fileuiBase.js- Base classuiButton.js- Button widgetuiUtils.js- Utility functions- And more...
Although dxUi contains multiple files internally, we only need to import dxUi.js, which will automatically load other dependency files.
2. Initialize UI
dxui.init({ orientation: 1 });
Initialize dxUi. This must be executed before all UI operations and only needs to be executed once.
Parameter description:
orientation: Screen orientation0,1,2,3represent 4 different screen orientations of the device- Default value is
1
3. UI Refresh Loop
std.setInterval(() => {
  dxui.handler();
}, 10);
LVGL's graphics rendering process consists of two steps:
- Draw widgets in memory
- Poll to update the image from memory to the screen
This is the basic process of all graphics engines, but most graphics engines hide this step.
The above code refreshes the screen every 10 milliseconds. The refresh interval is recommended to be set between 5~50 milliseconds:
- Too small (< 5ms): Will excessively consume CPU resources
- Too large (> 50ms): Graphics refresh too slowly, causing UI lag
4. Build UI Widgets
const screenMain = dxui.View.build("mainid", dxui.Utils.LAYER.MAIN);
const button = dxui.Button.build("buttonid", screenMain);
const buttonLabel = dxui.Label.build("buttonLabelid", button);
Create View (Container)
const screenMain = dxui.View.build("mainid", dxui.Utils.LAYER.MAIN);
Create a View widget with ID 'mainid'. View is the most basic rectangular container, usually serving as the parent node for other widgets.
Its parent node is dxui.Utils.LAYER.MAIN, which is one of the basic layers defined by LVGL. LVGL divides the screen into 3 layers from bottom to top:
| Layer | Description |
|---|---|
MAIN | Main layer, most commonly used |
TOP | Top layer, always above main |
SYS | System layer |
dxui.View.build('mainid', dxui.Utils.LAYER.MAIN) creates a View object on the main layer, which fills the entire screen by default.
Create Button
const button = dxui.Button.build("buttonid", screenMain);
Create a button widget with ID 'buttonid' on screenMain.
Each widget object's ID must be unique. It is the unique identifier of the object. Through the ID, you can access the object anywhere. If you don't need to access the object, you can use random values to ensure ID uniqueness.
Create Label (Text Label)
const buttonLabel = dxui.Label.build("buttonLabelid", button);
Create a Label widget with ID 'buttonLabelid' on button.
In LVGL, Button cannot set text directly. You need to add a Label widget inside it to display text.
5. Set Widget Properties
button.setPos(100, 400);
button.setSize(400, 400);

buttonLabel.text("Click me");
buttonLabel.setPos(150, 200);
We can see that both button and buttonLabel can call the setPos() and setSize() methods. This is because all UI objects inherit from the same base class, which contains all common properties and methods (such as coordinates, size, etc.).
Common Methods (available for all widgets):
setPos(x, y)- Set positionsetSize(width, height)- Set size- More methods can be found in
dxmodules/uiBase.js
Specific Methods (Label only):
text('Click me')- Set text content- More methods can be found in
dxmodules/uiLabel.js
6. Bind Events
button.on(dxui.Utils.EVENT.CLICK, () => {
  logger.info("Button clicked");
});
Use the on() method to bind event handler functions to the button. LVGL supports multiple event types:
CLICK- Click eventLONG_PRESS- Long press eventPRESSED- Press eventRELEASED- Release event- More event types can be found in
dxmodules/uiUtils.js
The above code means: when the user clicks the button, it will output 'Button clicked' in the log.
7. Load and Display Interface
dxui.loadMain(screenMain);
All the widgets built previously are only created in memory and are not displayed on the screen. Only after calling loadMain() will the UI objects in memory be actually rendered to the screen.
Advantages of this mechanism:
- Multiple interfaces can be built in memory in advance
- Dynamically switch to display different interfaces as needed
- This is also the basic principle for implementing page navigation
When loadMain() loads a new object and unloads an old object, it will trigger corresponding lifecycle functions. This will be explained in detail in subsequent chapters.
Summary
Although this is a simple example, it contains the core concepts of LVGL/dxUi development:
- ✅ Module Import - Import necessary modules
- ✅ Initialization - Configure screen orientation and other parameters
- ✅ UI Refresh Loop - Periodically update screen display
- ✅ Widget Hierarchy - Tree-structured parent-child relationship
- ✅ Property Setting - Position, size, text, etc.
- ✅ Event Handling - Respond to user interactions
- ✅ Interface Loading - Render UI to screen
After mastering these basic concepts, you can start building more complex graphical interfaces!